DIY succulent dish gardens

succulent dish garden tended.wordpress.com

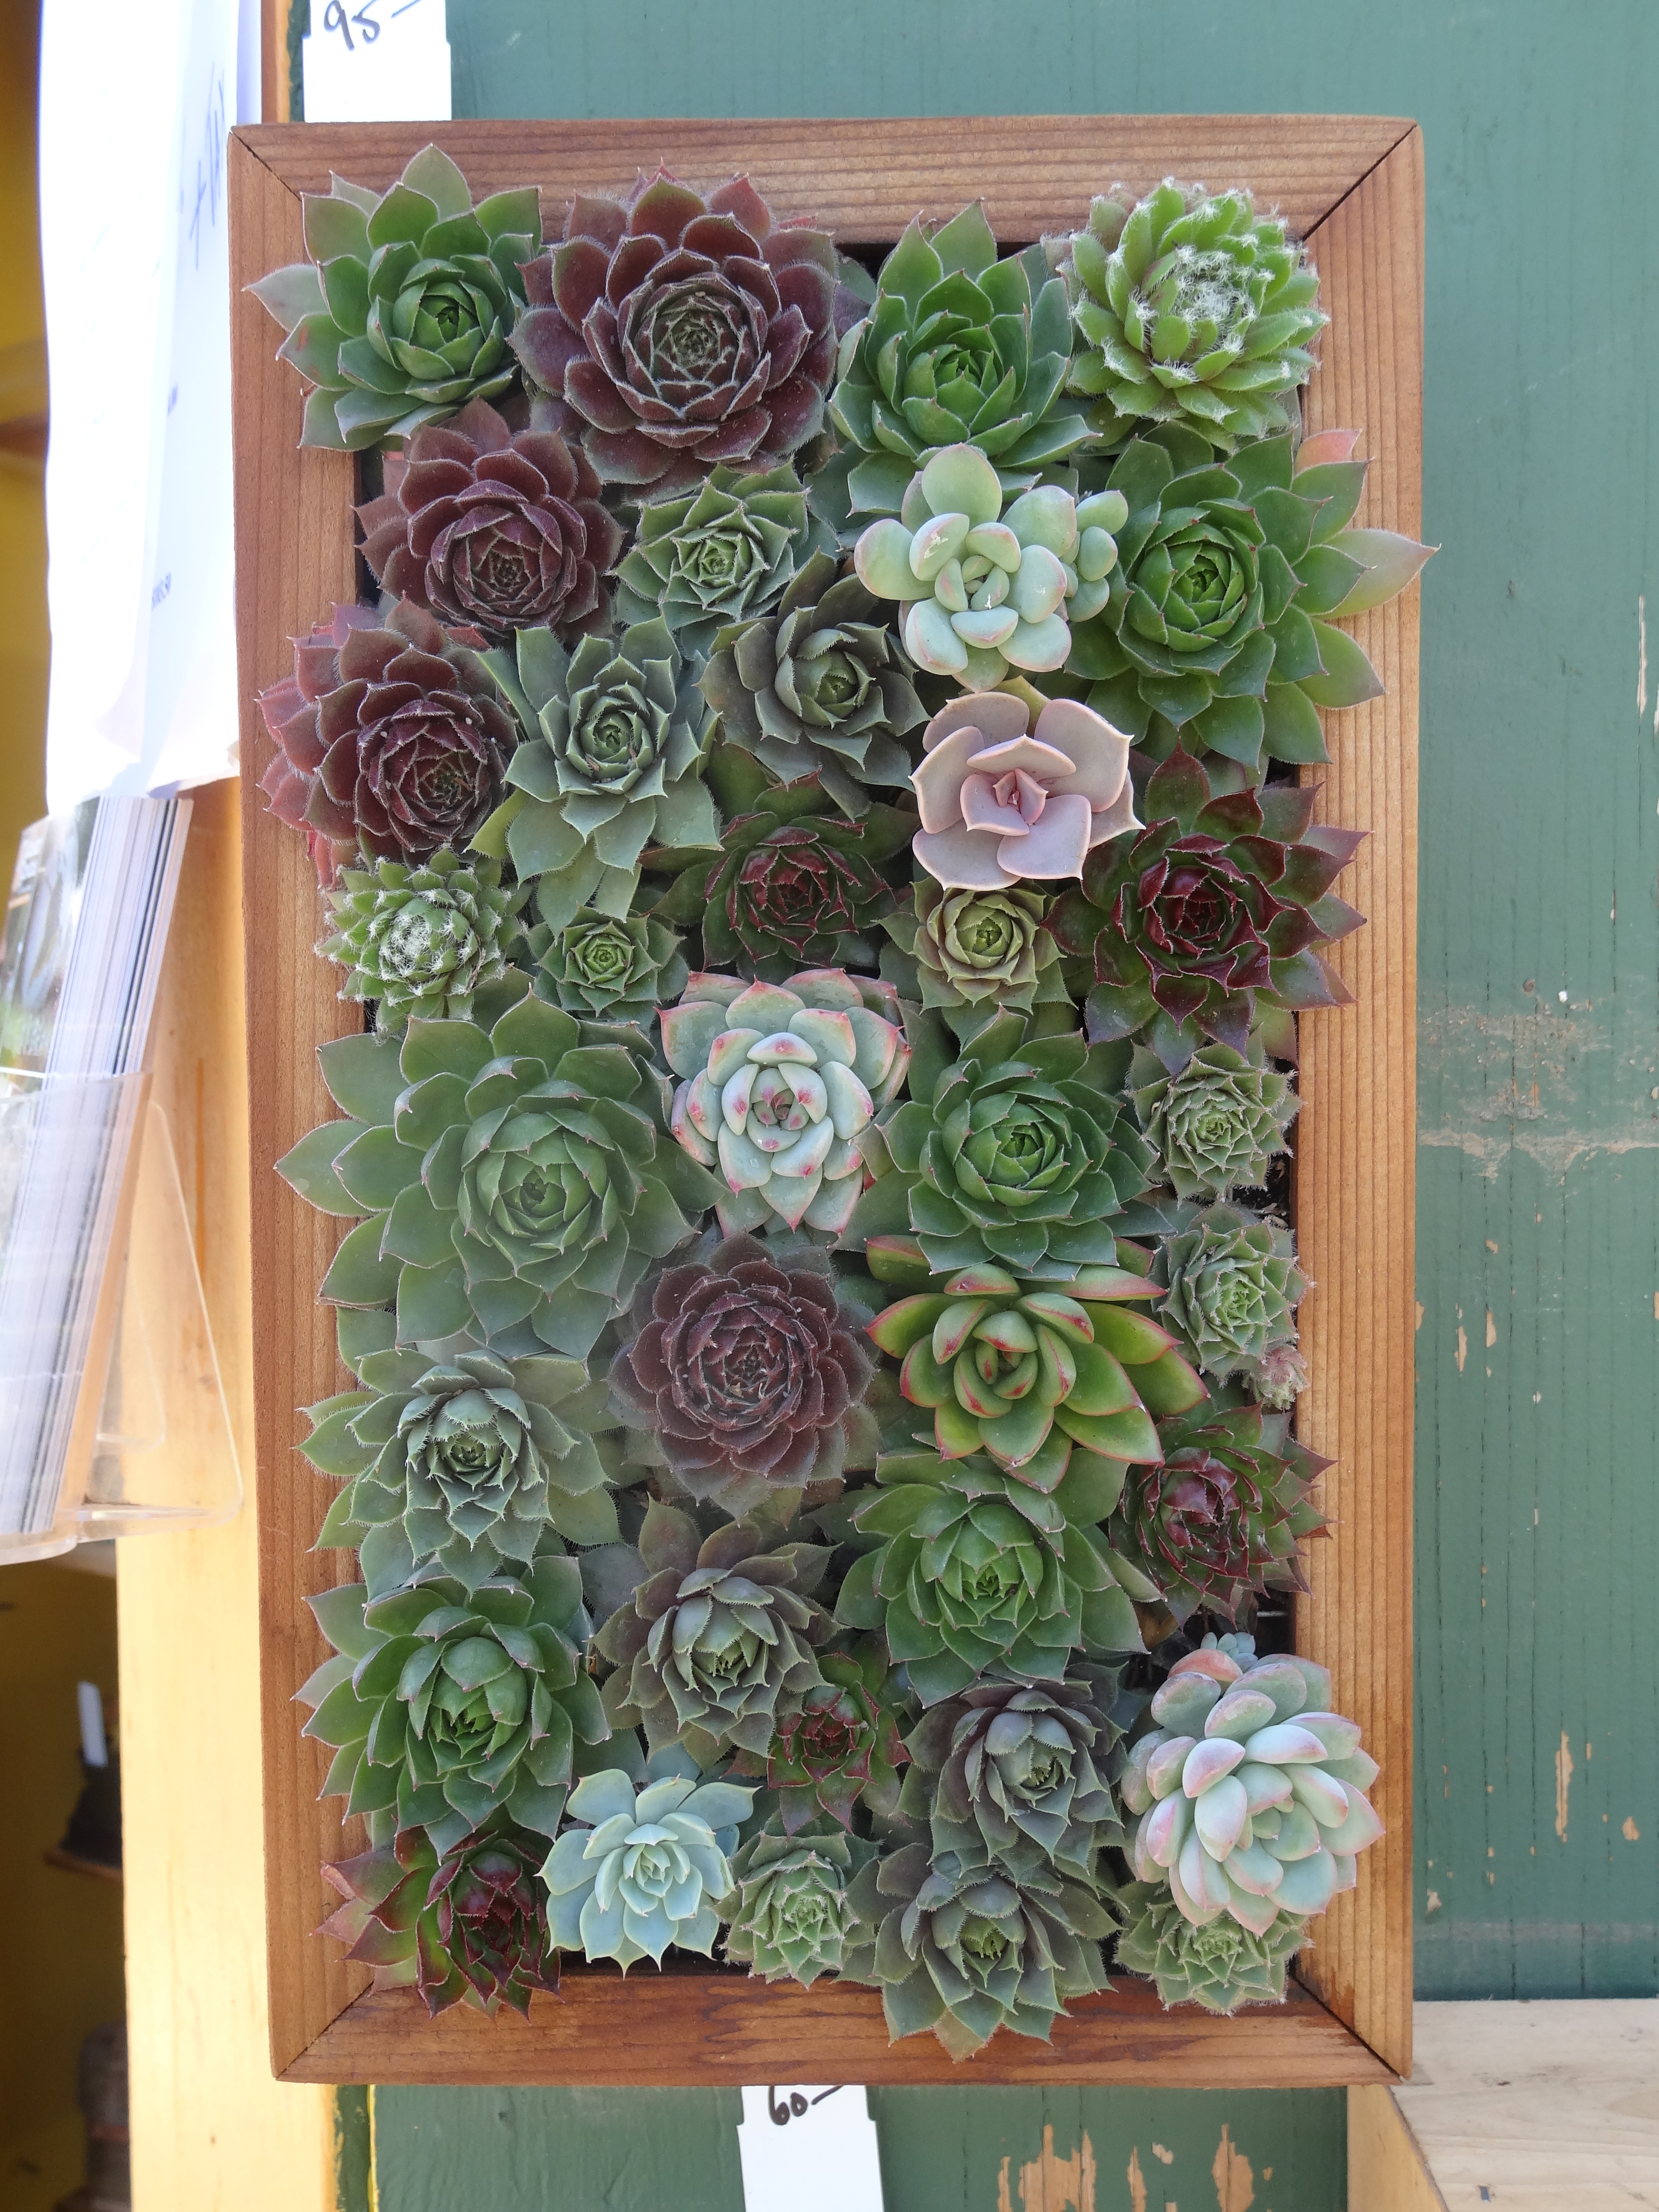
I spotted this beautiful succulent dish garden a few months back at Flora Grubb Gardens (they also offer classes if you want to make your own).

Unfortunately, we are still in the grip of this terrible drought. I didn’t plant anything new this fall, because a lot of the poor plants I planted the previous fall didn’t make it through the summer heat without enough winter rain to get them established. Suffice it to say most of my gardening this year will be succulents in containers.
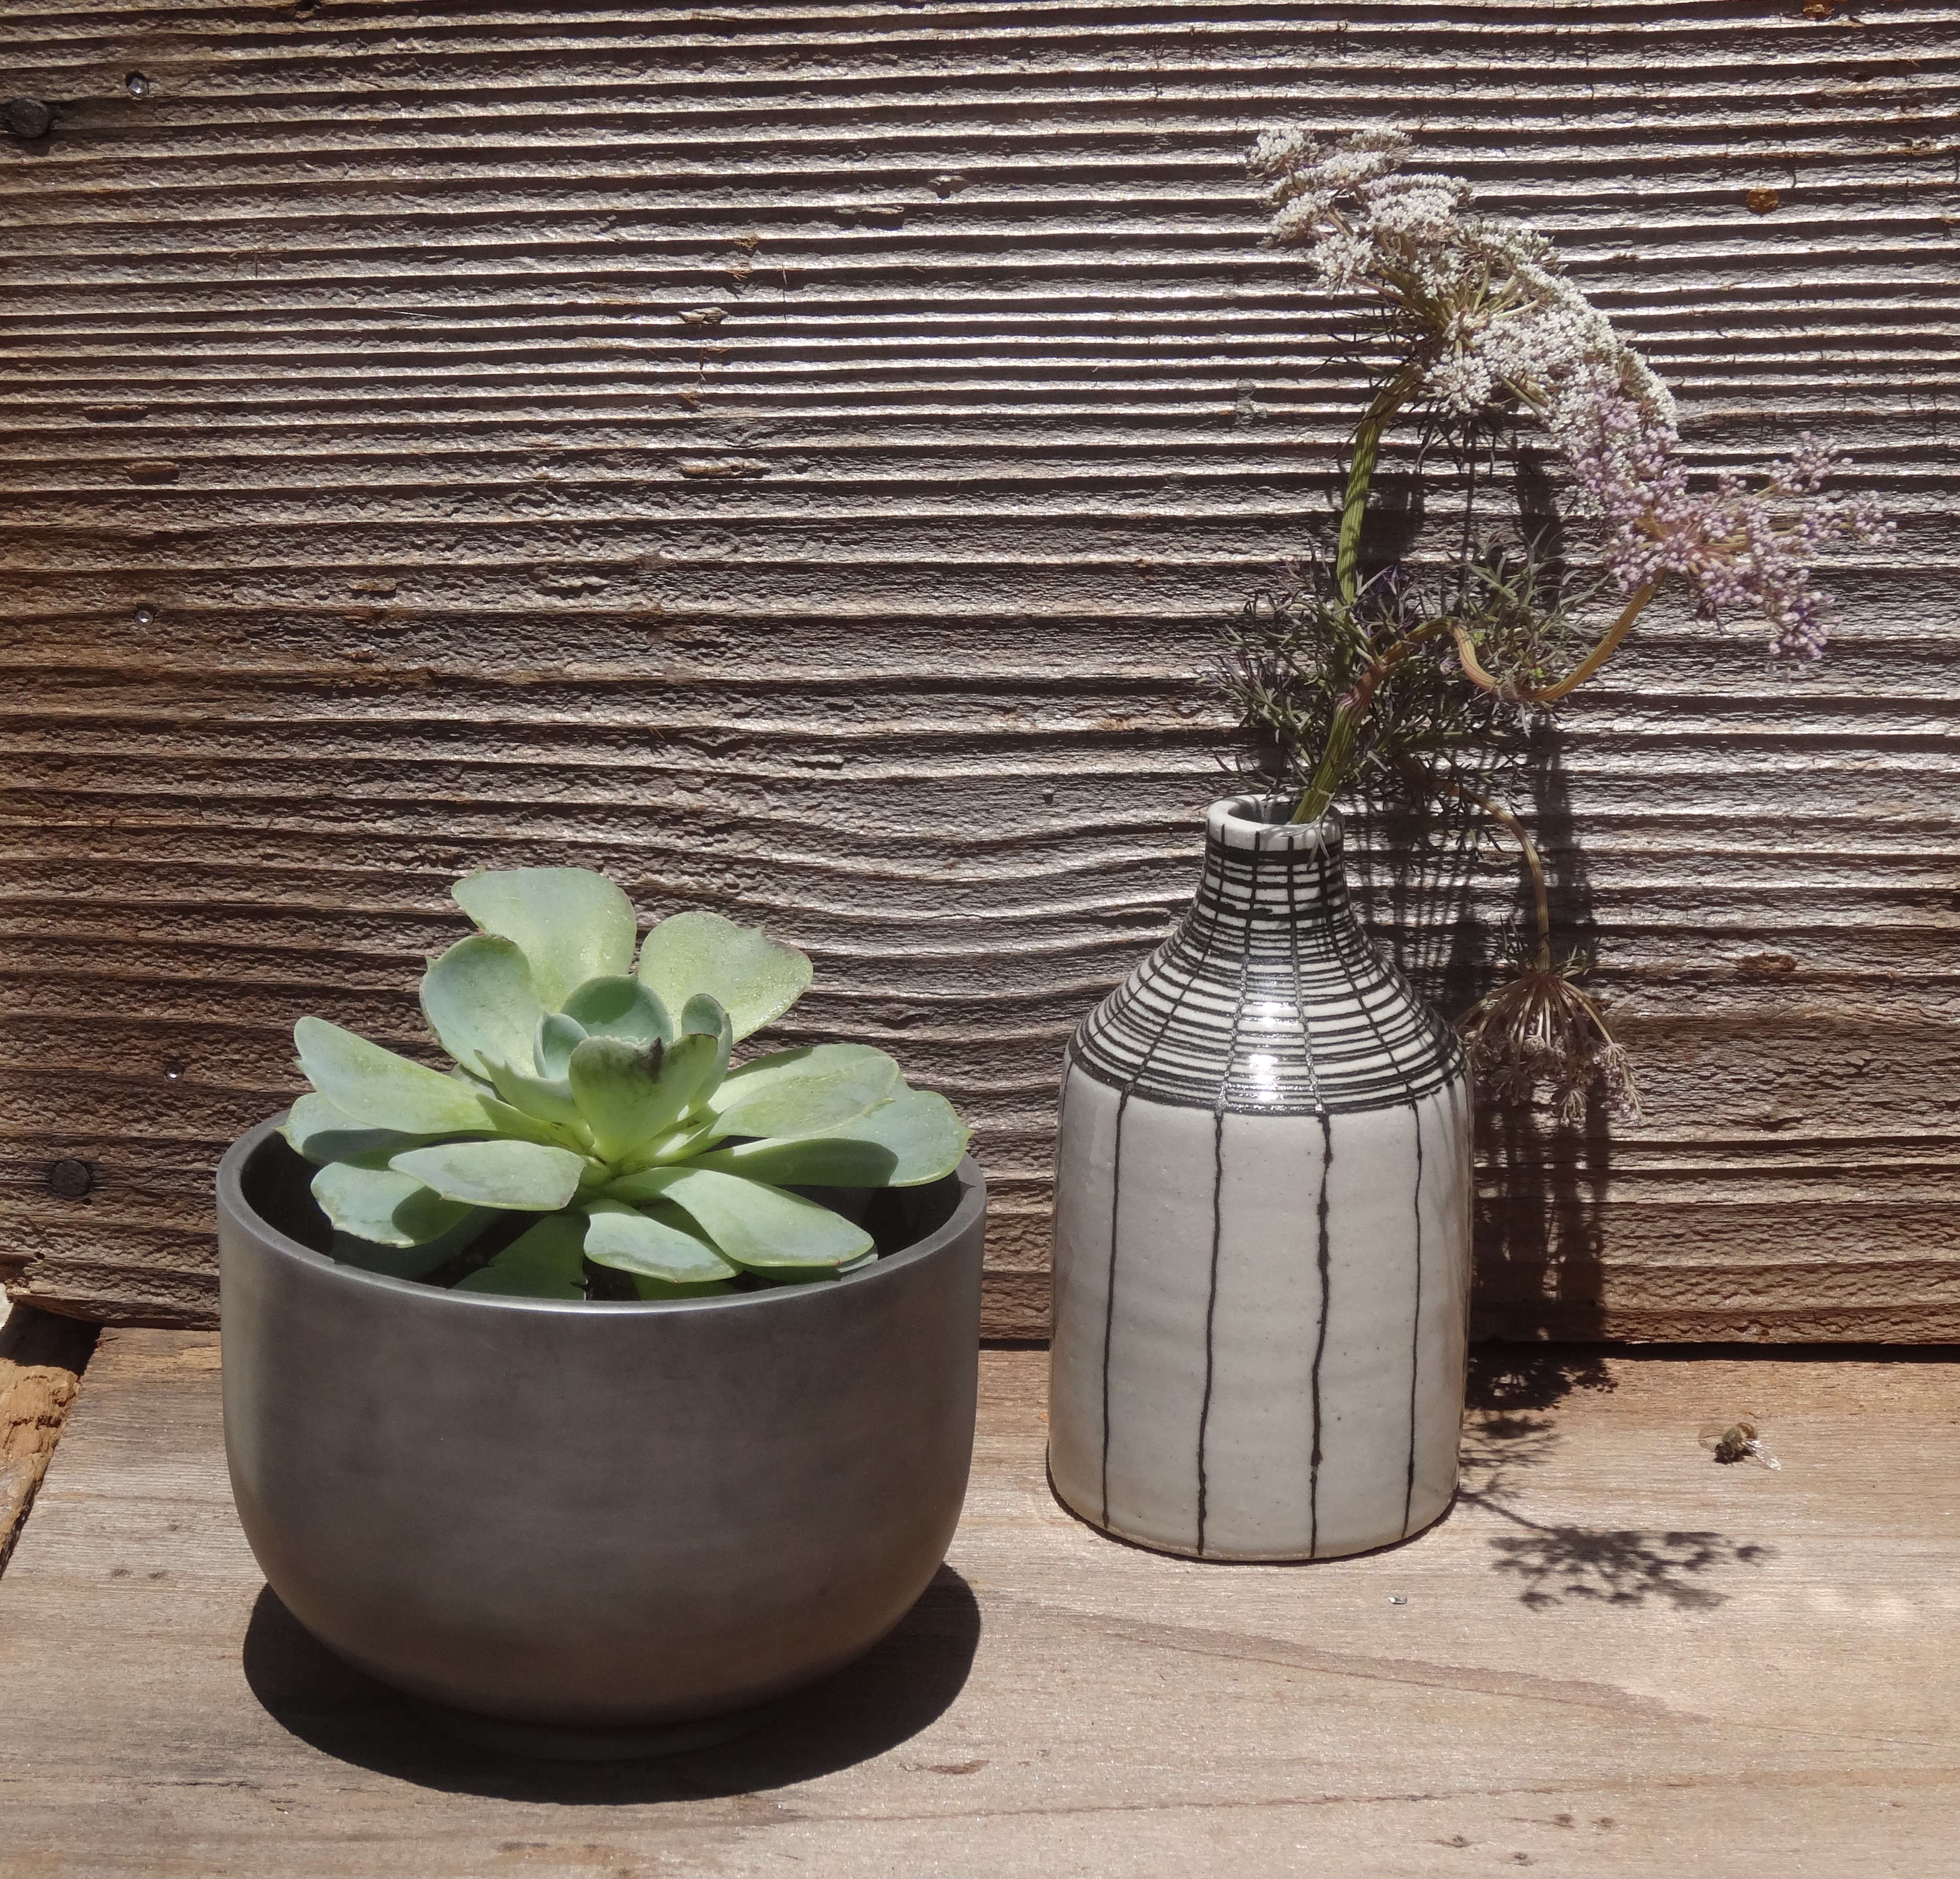
1. The container:

Two of the best places I’ve seen for containers are Flora Grubb and The Botanist in Los Altos, Ca. Online, I’ve found gorgeous ones at: West Elm, Pottery Barn, Crate and Barrel, and Anthropologie. Terrain has wonderful things as well but they are just too expensive for me.

You can drill a drainage hole in the bottom or put a layer of small rocks or pea gravel on the bottom.

2. The potting soil:

Honestly, I just use whatever potting soil is cheapest. If you live in an area where you get a lot of rain, you should go with a cactus or succulent mix or save money and make your own with 3 parts potting soil, 2 parts sand and 1 part perlite, all of which you can get at your local nursery, Lowes, Home Depot, OSH, etc…

3. The plants:

You can see this container uses the Thriller, Filler, and Spiller method. I’m guessing the Thriller is Echeveria ‘Perle Von Nurnberg.’ Mix in some clusters of not more than four kinds of smaller echeveria. Make sure to vary color and texture: green, purple, silver, spiky leaves, fuzzy leaves, rounded leaves. Tuck some small sedums in two or three places around the edges where they can spill over.

Pack the dish or container completely full so that you don’t see any dirt. Succulents slow growers and ridiculously easy to repot when they multiply or outgrow their space. With these plants what you see is mostly what you get, so I like to move them around and arrange them in my nursery cart until I’m happy with my composition.

4. Care:

Succulents grow beautifully in full sun, part sun, and bright shade. Water once a week, less in cooler weather. You can feed them if you want, but you don’t need to. When they multiply you can snap off the babies and repot them. If the stems get too long, pull them up, snap them off close to the rosette, and stick them right back in the dirt.

Gardening tips from Flora Grubb Gardens

flora grubb gardens tended.wordpress.com

I finally visited the world’s coolest plant nursery, Flora Grubb Gardens. There is so much inspiration here for creating stunning gardens and outdoor living spaces with low maintenance, water wise plants, and every kind of succulent under the sun (and lots of gorgeous stuff for indoor plants too). They also offer design services and classes, and the staff is unbelievably friendly, helpful, and knowledgable. Here’s what I learned from this visit:

  • Go for low maintenance plants that thrive in your soil, water, and light situation. Be realistic about how much time you have for watering and other gardening work.
  • Get your color and drama with foliage instead of flowers.
  • Your garden will feel bigger and be more functional if you divide it into spaces: living areas, passageways
  • Containers provide color and (flexible) structure. Use containers in a variety of sizes but in similar colors and materials.
  • Invest in large scale containers the way you would in hardscaping or furniture.
  • Use multiples: repeat plants, plant types, containers, and objects for a more cohesive look.
  • Plant and accessorize your vertical spaces.
  • Shop your local nurseries. While I do use the big box stores, there’s no substitute for a local nursery and the deep knowledge the staff has of the plants.

flora grubb gardens tended.wordpress.com

Succulents and organic modern ceramics

succulents in earthy ceramics tended.wordpress.com

It’s been a long time since I’ve posted. Around here, summer is not gardening season, it’s survival season! Especially this summer with the terrible drought we are having. With fall in sight I’m starting to think about my garden again but I’m still more than a month away from wanting to plant anything in the ground. So for now I’ll get my gardening fix another way.

Spotted at Sunset Magazine’s Celebration Weekend, these earthy organic containers are perfect for late summer and will take you right into fall and winter. You can mix just about any combination of pots, vases, and objects you can find. If you are mixing in flowers, just restrict the palette. Deep burgundies and blacks look so cool in this setting.

succulents in earthy ceramics tended.wordpress.com

More succulents in handmade ceramics are here.

Style your garden like you style your home

style your garden tended.wordpress.com 

Here is a beautiful example of layering plants and decorative objects in garden design firm Living Green’s booth at Sunset Celebration Weekend. Styling an outdoor room the way you would style an indoor room creates an inviting and interesting space that you don’t want to leave.

  1. Group similar objects for more impact. In this case, Asian inspired statues, natural stones, and potted orchids on the table.
  2. Simplify your color scheme. Here, natural tones and textures with mix with tables, ceramic stool, glass rock, and textiles all in shades of blue-green.
  3. Play with scale. Huge containers and big objects on the ground, tables of varying heights, small potted plants and objects on the tables (and tucked in the big pots).

DSC01929

DSC01931

DIY succulent wall

succulent wall tended.wordpress.com

Succulent walls are a huge trend right now and so perfect for small spaces, low water environmentally friendly gardens, or just overall extreme coolness. This spectacular succulent wall was created by Succulent Gardens in Castroville.

You can have these installed and maintained, or do it yourself by with box frames, chicken wire, and sphagnum moss. The sphagnum moss is your planting medium here – you don’t want to use dirt with these. You’ll need to water and feed these more frequently than conventional containers.

Here are some good succulent frame DIYs:

http://www.instructables.com/id/Succulent-Wall-Art/

http://www.bhg.com/gardening/container/plans-ideas/make-a-living-succulent-picture/

You can buy succulent box frames at Succulent Gardens, Flora Grubb Gardens, and probably about a million other places. The frames come in all shapes and sizes.

vertical succulent garden tended.wordpress.com

vertical succulent garden tended.wordpress.com

Succulents in a vintage birdbath

succulents in a vintage birdbath tended.wordpress.com

I love this idea: succulents in a vintage birdbath – spotted outside a shop in Montecito.

That’s an agave attenuata in the middle, which will get quite big. The rest of the birdbath is filled with dudleya, jade, echeveria, kalanchoe, and sedum. The green plants in the middle are ringed by purple and blue succulents, with a few small green sedums tucked in around the very edges. Your dudleyas (the silver/blue/purple ones) will need to grow a bit before the rosettes get long and full like these. When they get too leggy, just pull them out, break off the long stems, and replant the rosettes.

succulents in a vintage birdbath tended.wordpress.com

A dream patio or porch

dream back porch tended.wordpress.com

This is a beautiful, simple, serene way to style a front porch or back patio. The soft blues of the containers echo the paint color on the windows and doors. The arrangement of the containers is almost, but not quite, symmetrical. The containers are each slightly different, and there are two palm varieties. Furniture and accessories are natural tones: wood, wicker, and jute.

I love the wicker pendant lights (this is a covered patio). These bentwood pendants from West Elm would look great too.

Pine trees in polished clay containers

Screen Shot 2014-02-28 at 4.11.16 PM

In the best stroke of luck ever, I found these polished clay pots secondhand (buying used is one of my new year’s gardening resolutions). They don’t quite match but they’re beautiful, heavy, good quality pots. I planted them with baby pine trees that I ‘recycled’ from Christmas decorations, added tumbled stones to keep water in and raccoons out, and put them out front on either side of the garage door. I plan to prune the trees into tall, narrow forms as they grow. If that doesn’t work out, I’ll replace them with podocarpus.

I managed to pop them in and snap some pictures before it started pouring again. We desperately need this rain, but I do think the succulents have had enough.

succulents in the rain

Garden gift DIY: succulents in a driftwood planter

succulents in driftwood tended.wordpress.com

Emily Joubert in Woodside sells these beautiful pieces, but they also make a fun DIY and anyone would love them as a gift. Here’s how to plant succulents in a driftwood or old log planter:

  1. You can use driftwood, or any piece of wood that has some age and weathering to it. Soft woods will make a faster, easier project.
  2. Start with a crack or depression  that is somewhat towards the middle of the wood. Use a gouge tool to dig it out and make more space for your plants. You don’t have to dig out very much: succulents don’t need a lot of root space.
  3. If the crack goes all the way through the wood, tuck in a piece of screen and secure it with a couple of small nails, tacks, or staples.
  4. Fill with dirt. I have been gardening with succulents forever and I’ve rarely used a cactus potting mix. I just use whatever potting soil I have on hand, which is usually the cheapest one, and my succulents have always been fine.
  5. Arrange your succulents. Go for either uniformity or as dramatic a mix of colors and shapes as you can find. If you’re doing a mix, do a spike, a rosette, a silver, a green, and a purple or black. Put in your bigger forms and then tuck the little ones around the edges.
  6. You don’t need to leave them room to grow. Pack them in there like you are arranging flowers. If they make babies, pop them out and repot when things get crowded. If they get leggy, snap off the stems and stick the rosettes back in the dirt. That’s it. They don’t have strong roots so they are as easy to rearrange as cut flowers.